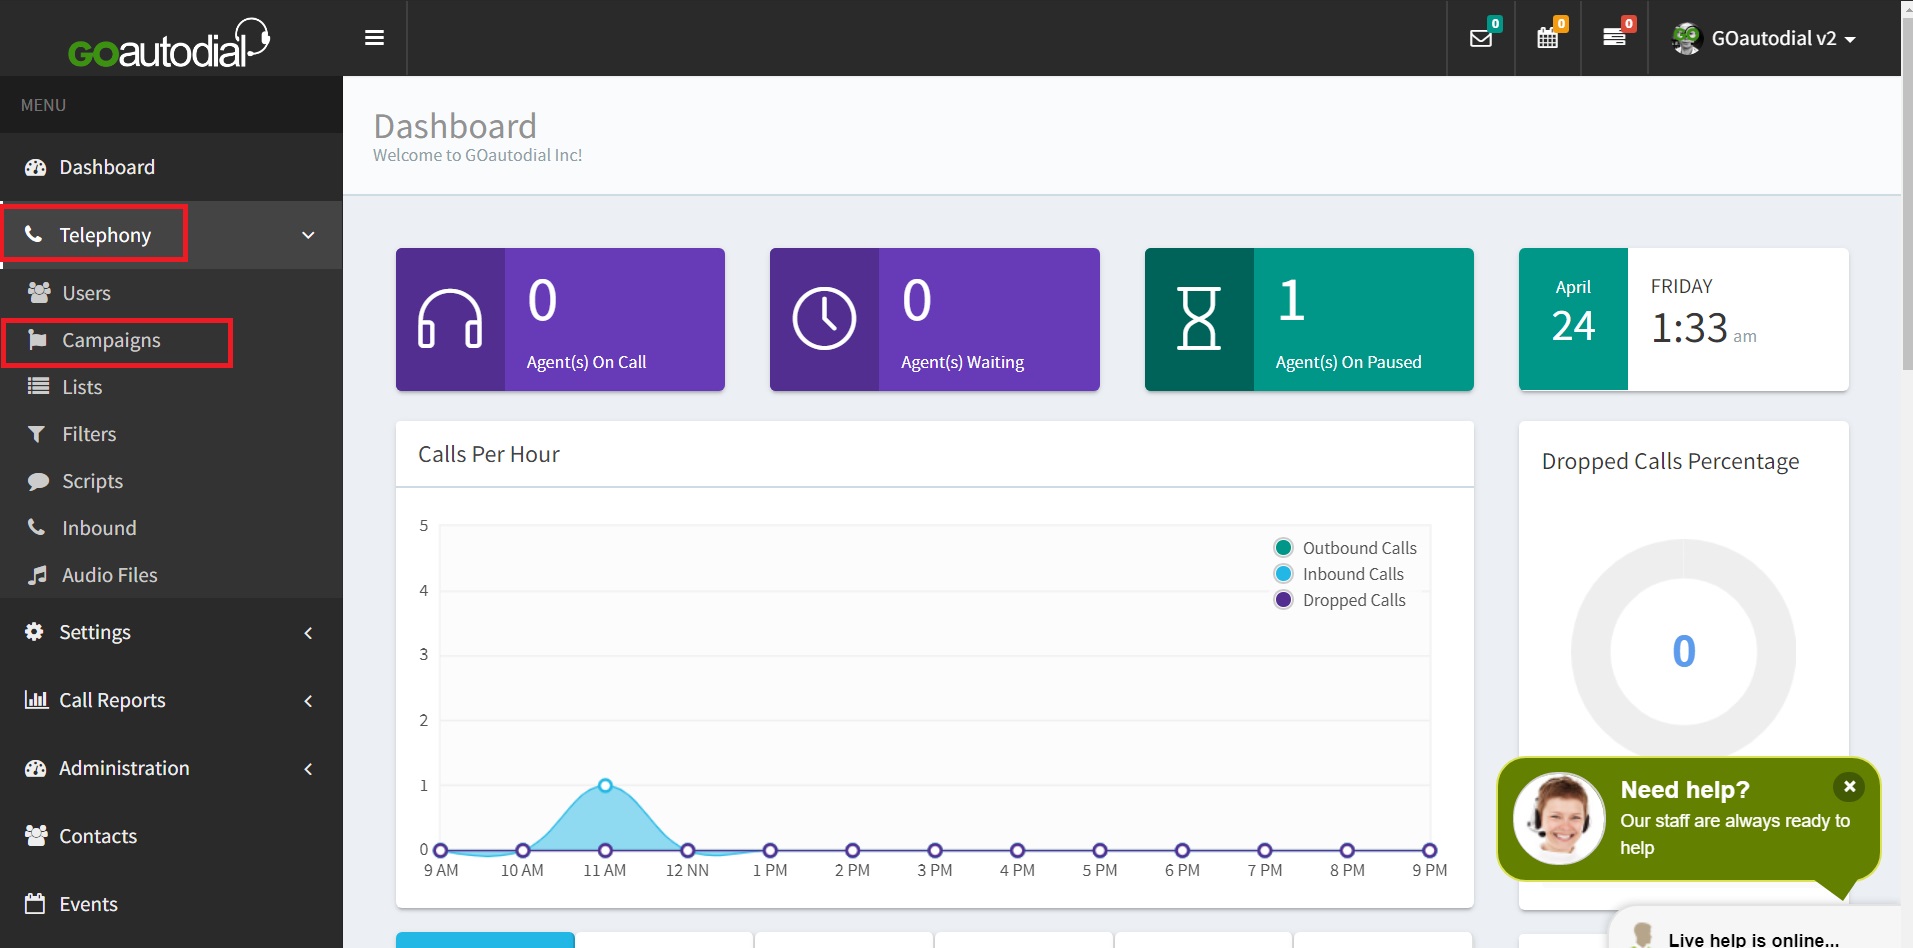
1. Navigate to the side menu and click "Telephony" then select "Lists".

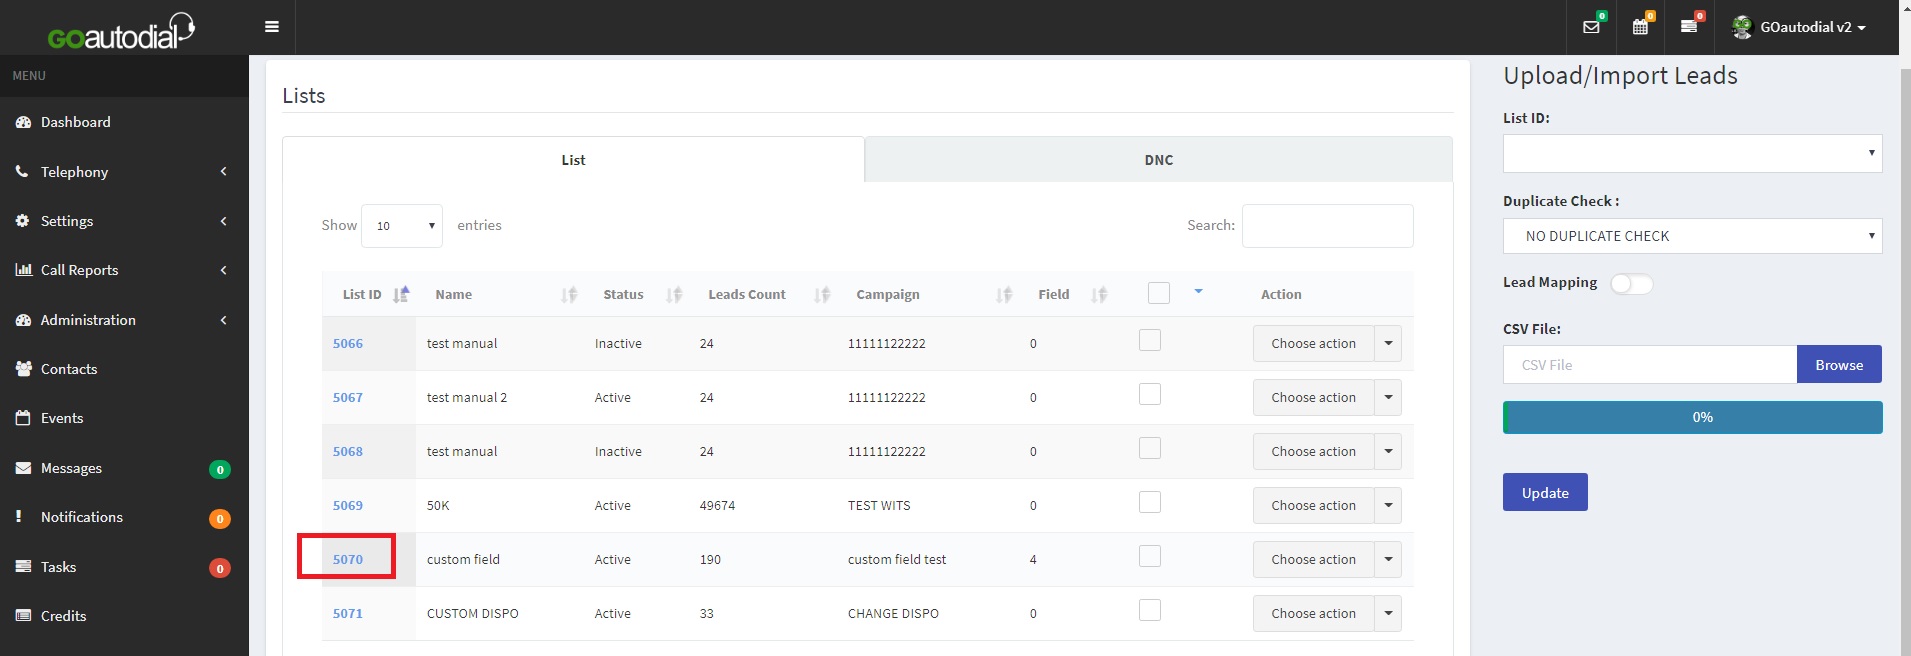
2. Click the List ID where you want the custom field added. If you don't have a List ID yet, create one.

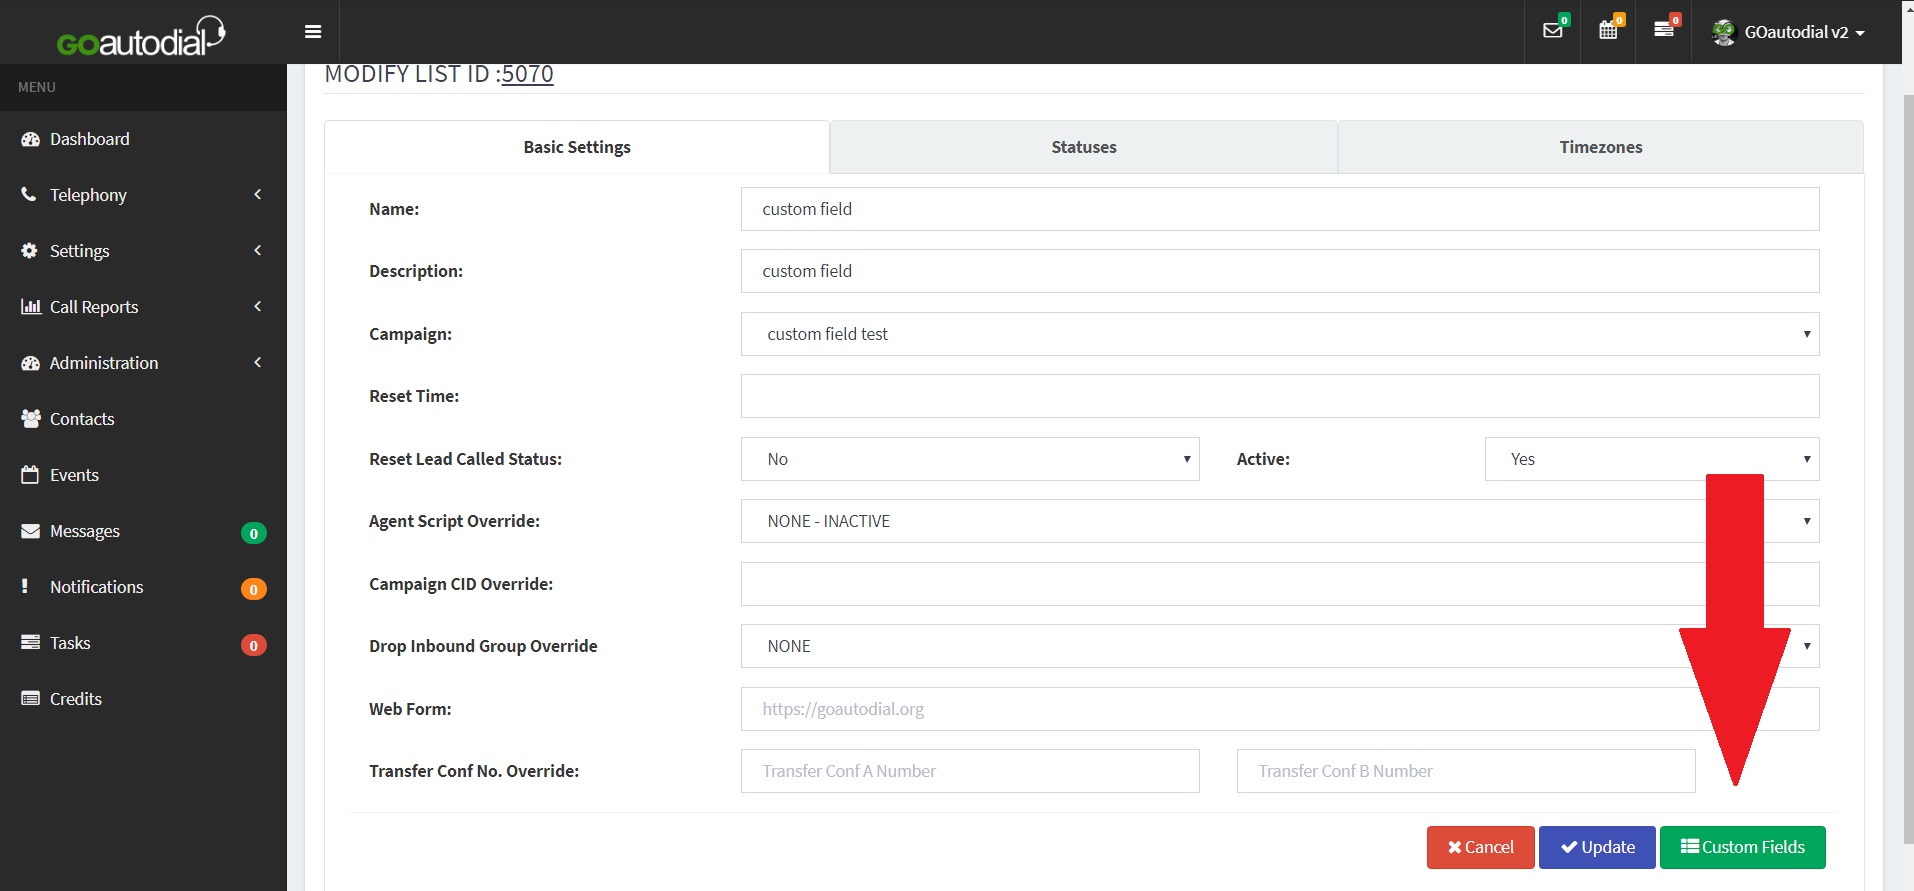
3. On the list Basic Settings, click the green "Custom Fields" button.

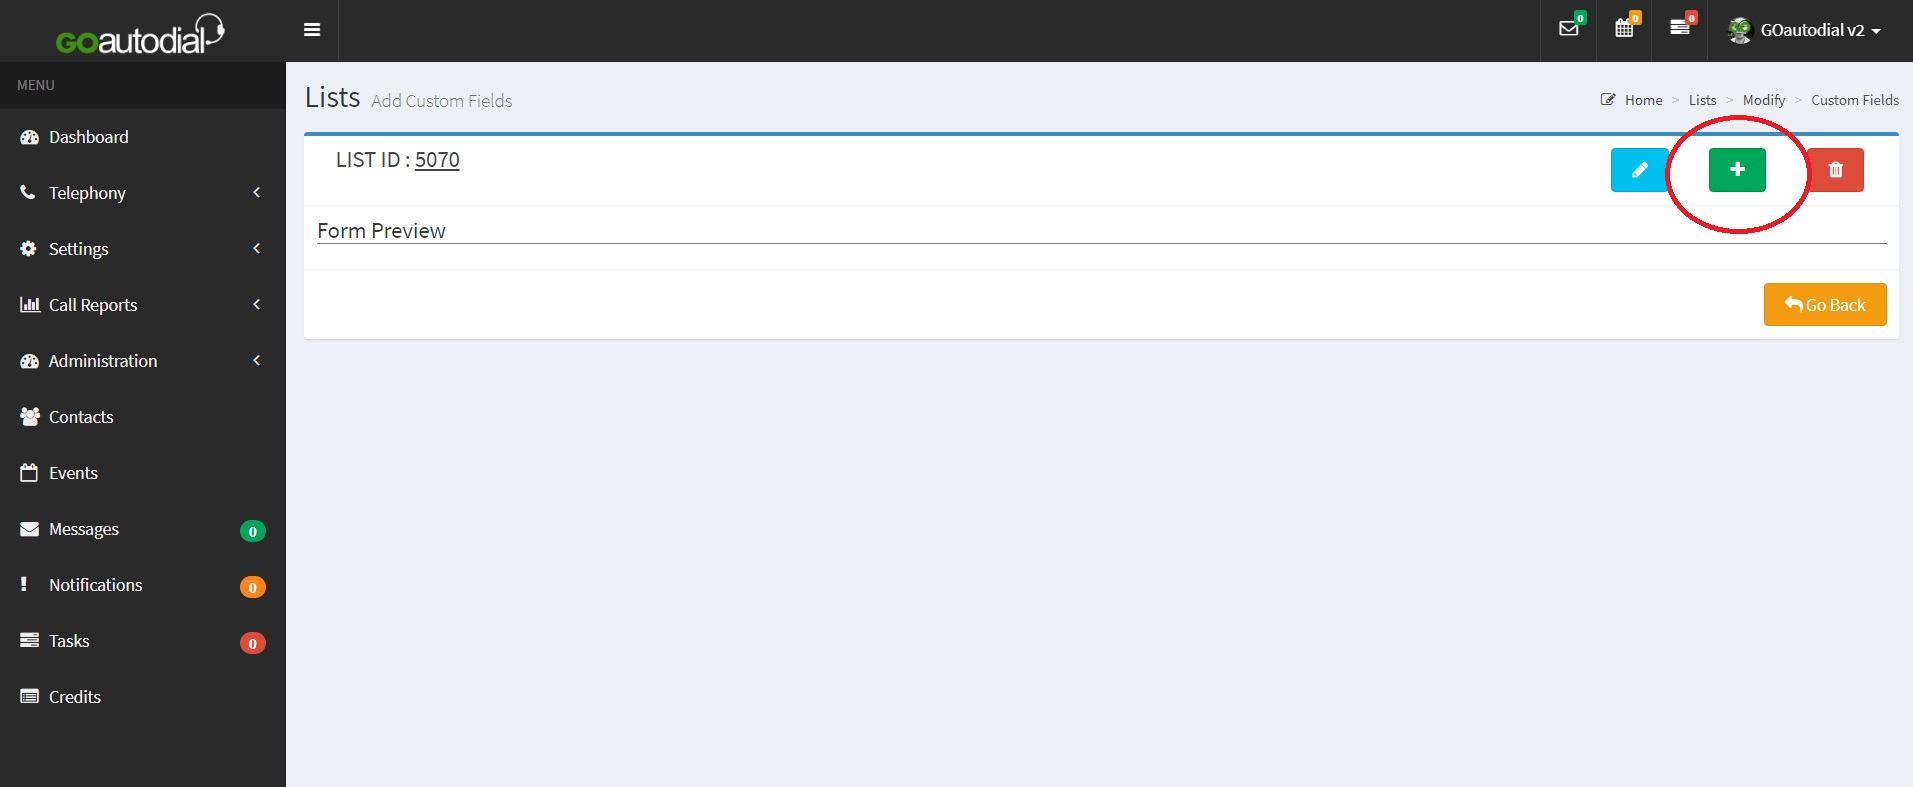
4. Click the green "plus" icon to add a new custom field.

5. Fill up the "Custom Field Wizard" form.
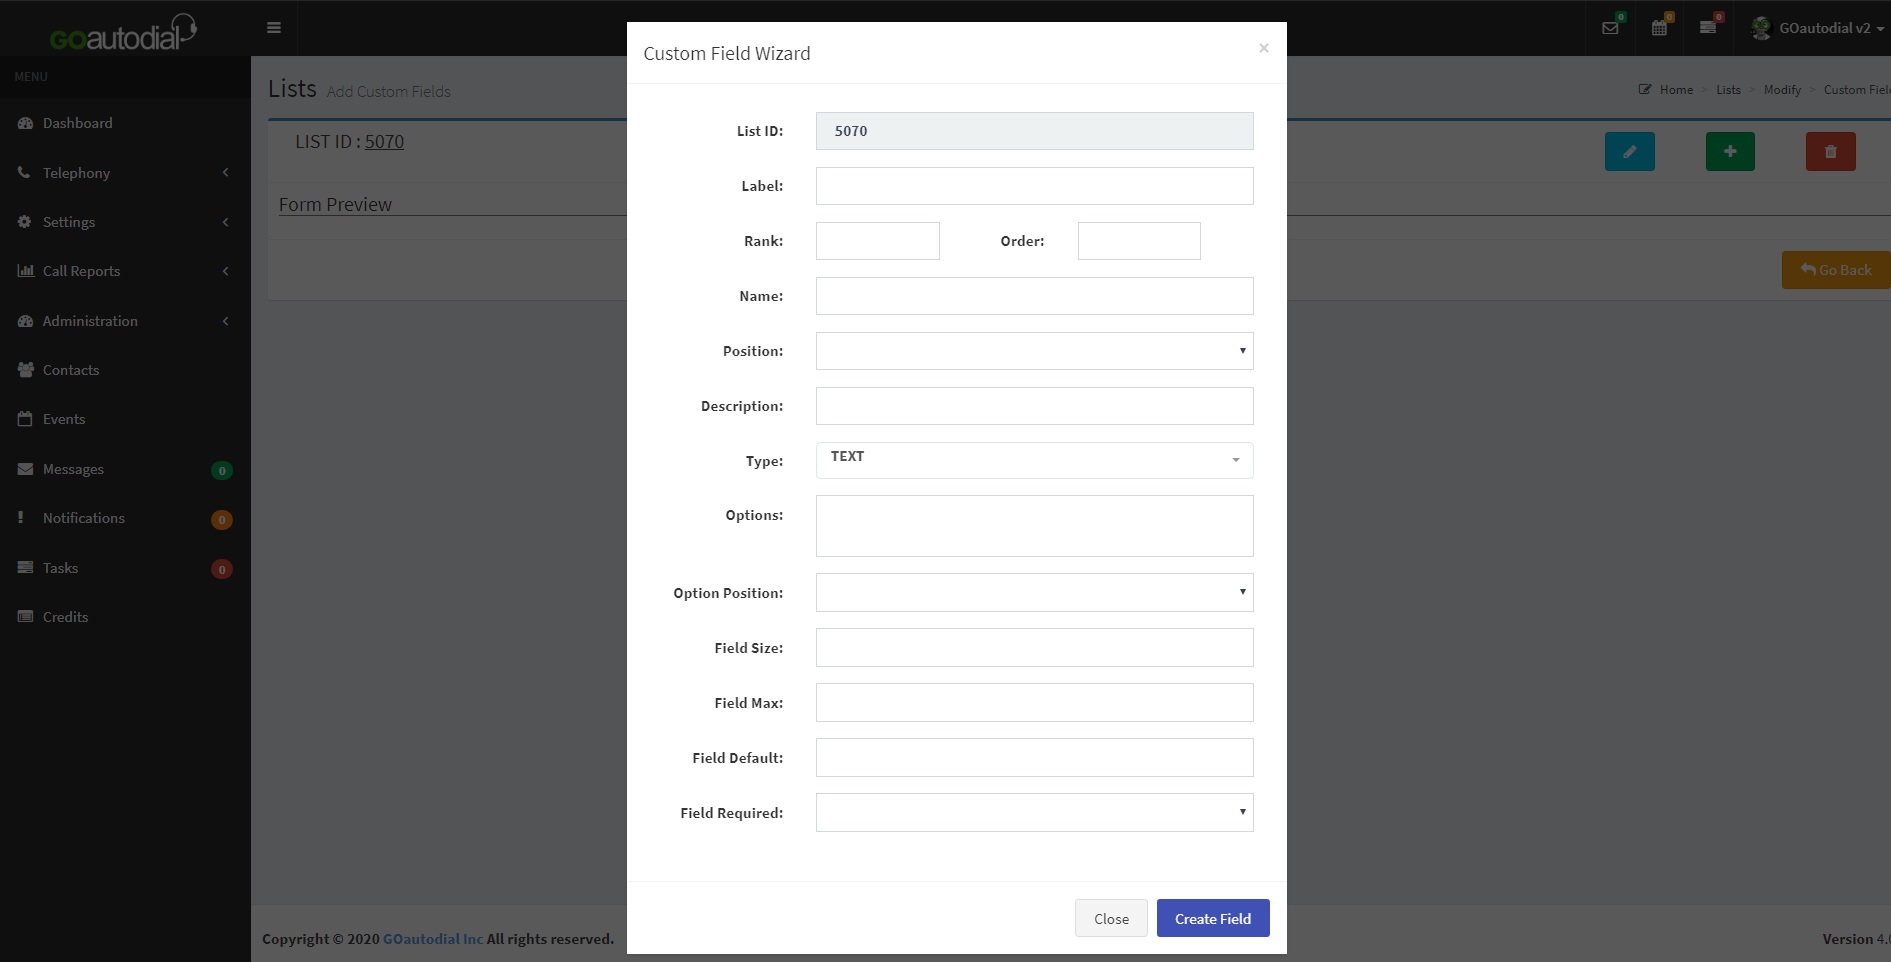

6. Click on the blue "Create Field" button when done.
CUSTOM FIELD OPTIONS:
- Labels = Do not use special characters or spaces
- Name = This field will show on the agent's screen and when you are uploading leads (Field mapping).
- Rank = Defines the position of the custom field relative to the line.
- Order = Defines the position of the custom field relative to the column.
- Position = The direction of the custom field that will appear on the agent screen
- Type = Defines the type of custom field. "Text" is a single line display box. "Area" is a text box that can have multiple lines. "Select" is a dropdown box. "Multi" is a multiple line selection box. "Script" will display scripts on the custom field. "Display" is a view-only field.
- Options = For Multi, Radio and Checkbox type field, this is where you define the options displayed for the custom field. Each line should contain the label and the option name separated by a comma.
- Option Positions = Applies only for Radio and Checkbox field types. Determines how the custom field names are displayed on the agent screen. Horizontal will display multiple (if there are more than one) Radio or Checkbox name on the line until it is filled then proceed to the next line. Vertical will strictly display only one name per line.
- Field Size = Applies only to Text, Area and Multi type fields. For "Text" type field, this defines the number of characters that will display on the field. For "Area" type field, this defines the width of the textbox. For "Multi" type field, this defines the number of options that will be displayed in the Multi selection box.
- Field Max = Applies only to Text and Area type fields.For "Text" type field. this defines the number of characters that you can input on the custom field. For "Area" type field, this defines the length of the box.
- Field Default = Defines the default value of the field when no data is entered. For Multi, Radio, and Checkbox type fields, you need to input the label defined on the "Options" box. Setting this to NULL will disable this function.
- Field Required = Only applies to fields that require input. Defines whether the field requires data or not.


